- April 28, 2024

-
-
Loading
Loading
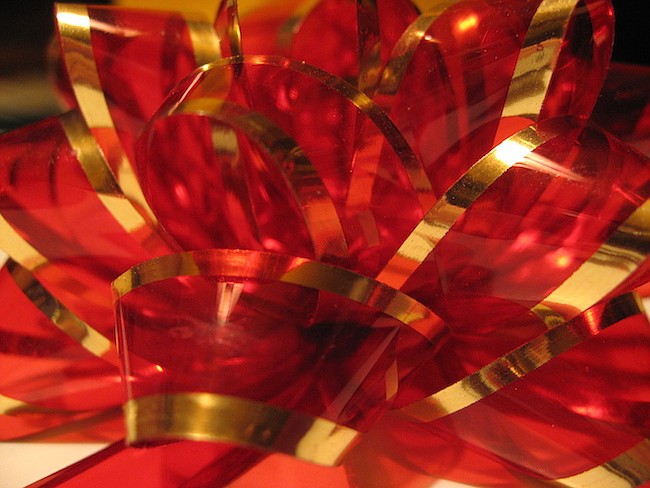
There are plenty of things to do with holiday leftovers. And I'm not talking food. Think of all the colorful catalogs, wrinkled gift wrap, ribbons and bows stashed away in your recycling bin this week. To artist and retired art educator Becky Anderson, it's a treasure-trove of stimulating materials that can open doors to expression and creative thinking for her 19-month-old granddaughter, Lucia.
"When Lucia comes over, I like to share what I enjoy doing, and that usually comes in the form of making things with our hands," she said while tearing cast-off holiday gift wrap into different shapes. "I'm curious to see what she'll do with paper and a bottle of glue today."
Sure enough, all it took was the sound of the spit and sputter from the glue bottle as Becky dabbed glue on construction paper, and Lucia was engrossed.
"Sticking colorful papers to the glue is just plain fun for her," said Becky. "It's also teaching her cause and effect, a basic skill for life. She discovers by her actions that something changes. To create is intrinsically rewarding for children, and it also expends lots of energy – all the better for a nap later on," she adds with a smile.
Here are two paper-and-glue art activities for young kids using recycled stuff from around the house.
Here's the stuff:
• Leftover holiday gift-wrap cut or torn into 2- to 3-inch shapes.
• Leftover ribbon, string and gift tags
• Construction paper
• Household white glue in a squeeze container such as Elmer's
• Art paintbrush, paper plate and leftover tissue paper cut into 1/2-inch by 16-inch strips
Here's the fun:
Toddlers: If this is your child's first experience using glue, show him or her how to squeeze the bottle and dab it on the construction paper. Choose pieces of paper one by one and press them into the small puddles of glue every which way. Talk about colors and patterns as you create the collage together.
3s and 4s: Squeeze some glue on a paper plate, then stir in some water. Using the paintbrush, your child may "paint" the glue solution on the art paper. Stick paper shapes on the glue.
Crumple tissue strips and press the wads onto the glue in colorful combinations. Add more glue solution, if needed.
Display the art at home for the whole family to enjoy, or hang it in your office as a colorful reminder of your child.
Extra idea: Make the collages on folded cardstock and use as original thank-you notes for holiday gifts. Or glue papers to a box and then use it to store things inside.
Reading bookworm grows with books
Reading is an important part of growing, and wintertime is the perfect season to snuggle indoors with kids and a book. Picture books, chapter books, there are so many waiting for all ages at the public library. The best part is that checking them out with your child's own library card is free!
Keep turning pages and talk about exciting stories with an activity that's an incentive to keep family life full of reading. Make this growing bookworm ... or call it a reading caterpillar. It will motivate your young child to pick up a book, finish it and even give it some analytical thought. What a classic combination! Plus, it's a creative bookish idea to sharpen minds and reading skills.
Find a lightweight plastic ball with holes in it, such as a wiffle ball. This will be the bookworm's head. Decorate one half of it to create the face by gluing on felt and buttons; twist pipe cleaners through holes for whimsical features. Now, tie a 38-inch length of string to the opposite half through one of the holes in the ball. The bookworm's body will grow along the string.
After you and your child read a book, cover the outside of a bathroom tissue tube or paper-towel tube cut in half with colored paper or paint, then add pictures cut from magazines or make original drawings that represent the characters and theme of the book. Was it about dinosaurs? Take a crayon and draw a Tyrannosaurus rex.
Was it about a little boy who couldn't fall asleep? Draw a teddy bear or pillow and press on sticker stars in the night. Write the title and author by the decor.
Slide the string through the first decorated tube so that the tube touches the ball. As books are read, add more tubes, one after the other, and watch the bookworm grow. You'll be feeding it books. How healthy! Display on a shelf or table.
Extra tip: If you have an avid reader in the family, suggest that for every two or three tubes he adds to the bookworm, he might read a book to his younger sister and help her create a new collection of tubes of her own. This will be a reminder to him that growing the bookworm is a joint family effort.
Donna Erickson's award-winning series "Donna's Day" is airing on public television nationwide. To find more of her creative family recipes and activities, visit donnasday.com and link to the new Donna's Day Facebook fan page. Her latest book is "Donna Erickson's Fabulous Funstuff for Families." (c) 2017 Donna Erickson. Distributed by King Features Synd.