- April 25, 2024

-
-
Loading
Loading
By David Haynes
Contributing Writer
Thursday evening is our regular creative photography photo walk, and recently, we spent a fun hour at the lake edge in Newton Park. My thanks to photographers Jade, Lucas and Taylor for appearing on the other side of the lens for a change. Please remember — never look directly at the sun.
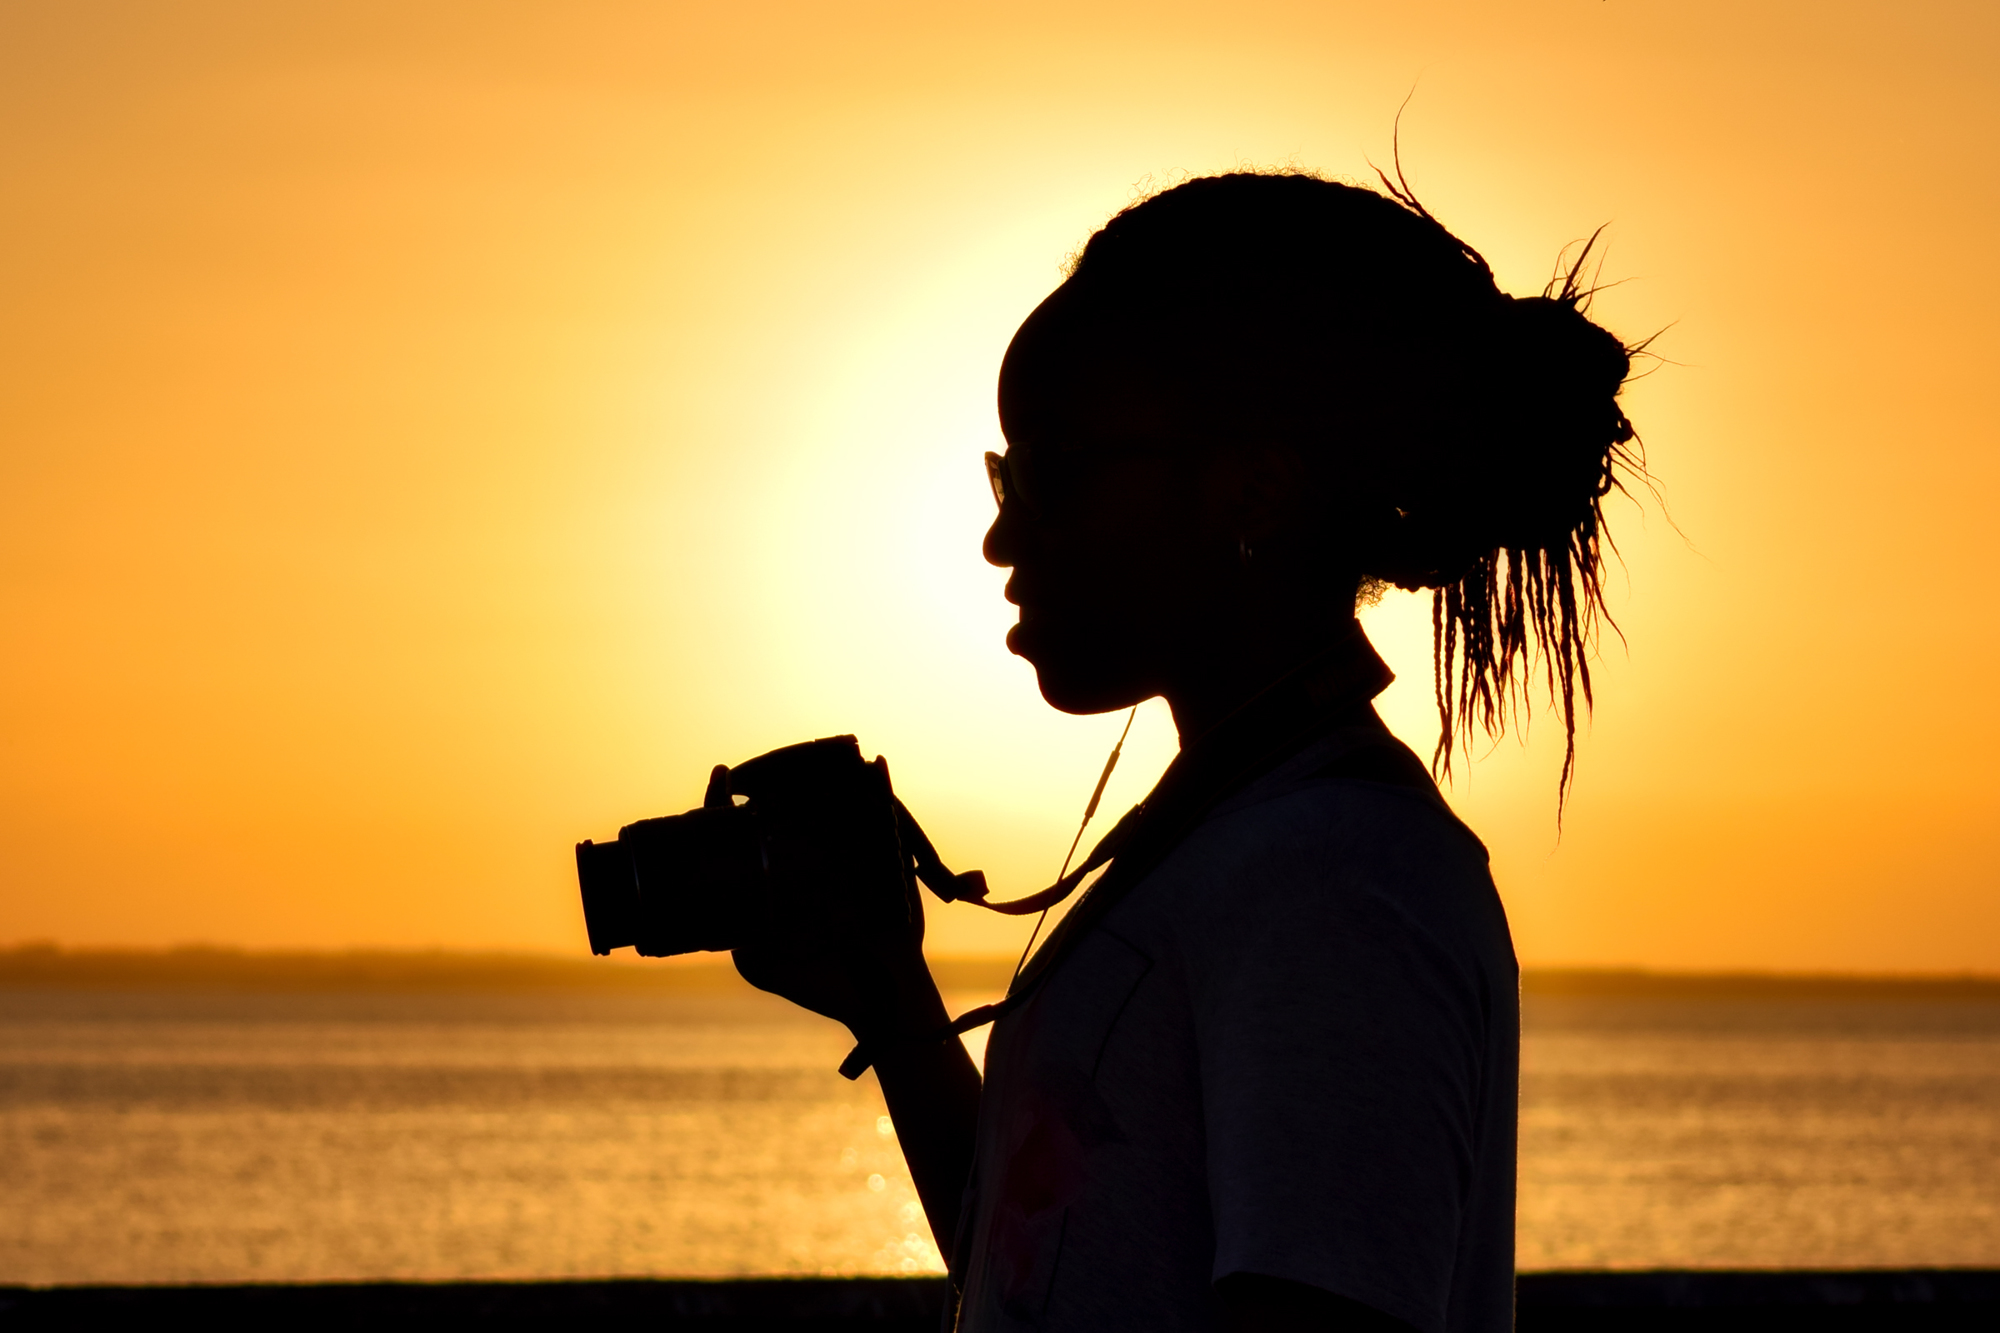
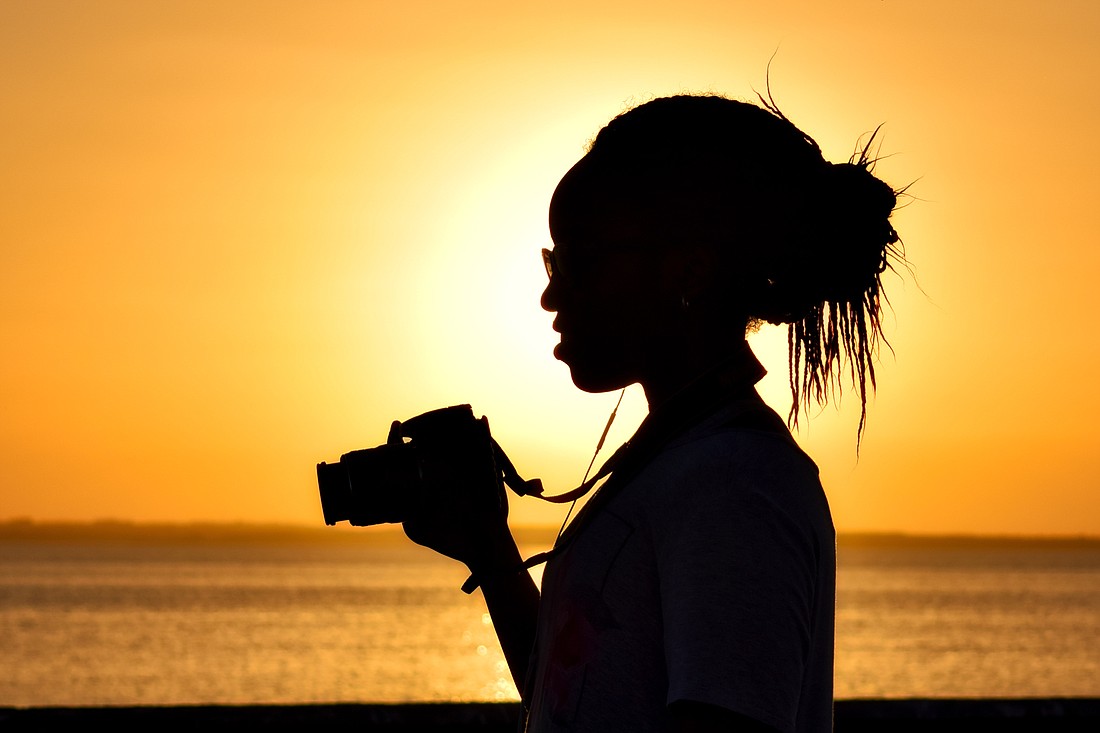
1. To get a silhouette, expose for the sky. Your DSLR’s metering mode may handle this perfectly if there is enough sky in the frame, but if not, use the exposure compensation control to dial it down several stops and try again. Alternatively, point the camera at open sky and use the exposure lock control before reframing on your subject. In this shot, I’ve included the boardwalk handrail at the bottom of the frame — this creates a black border and helps anchor the image and keeps attention within the frame.
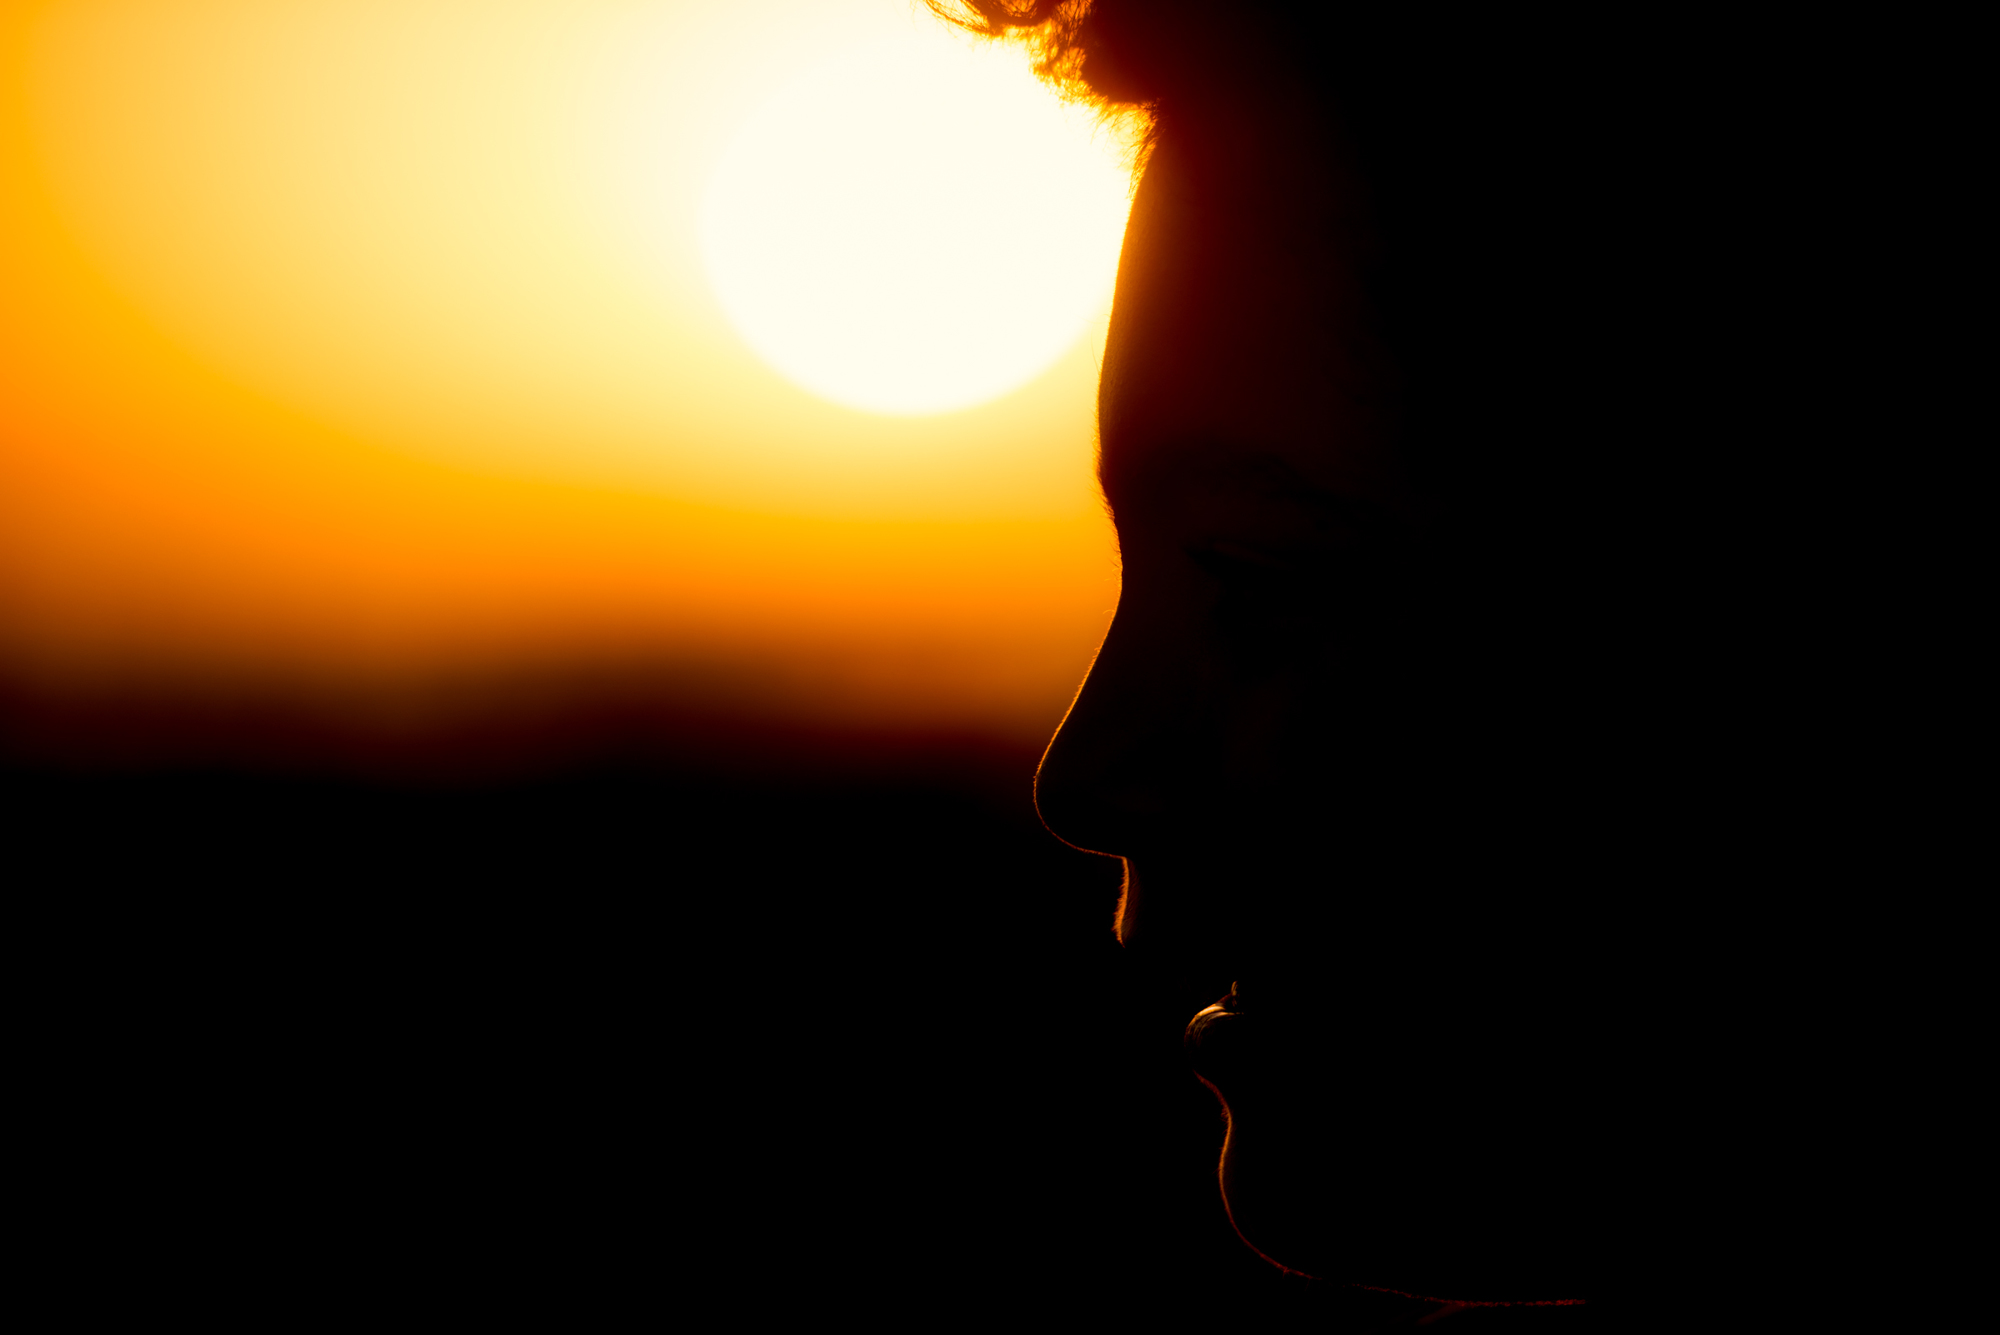
2. This shot goes a little further — I set focus on his face with the sun behind him for safety then — taking my eye away from the viewfinder — moved the camera slightly to bring the sun into the frame. The tighter composition with a longer lens creates a more abstract result with just a rim of light around the face. The long lens throws the sun way out of focus, diffusing its light and making it seem much larger.
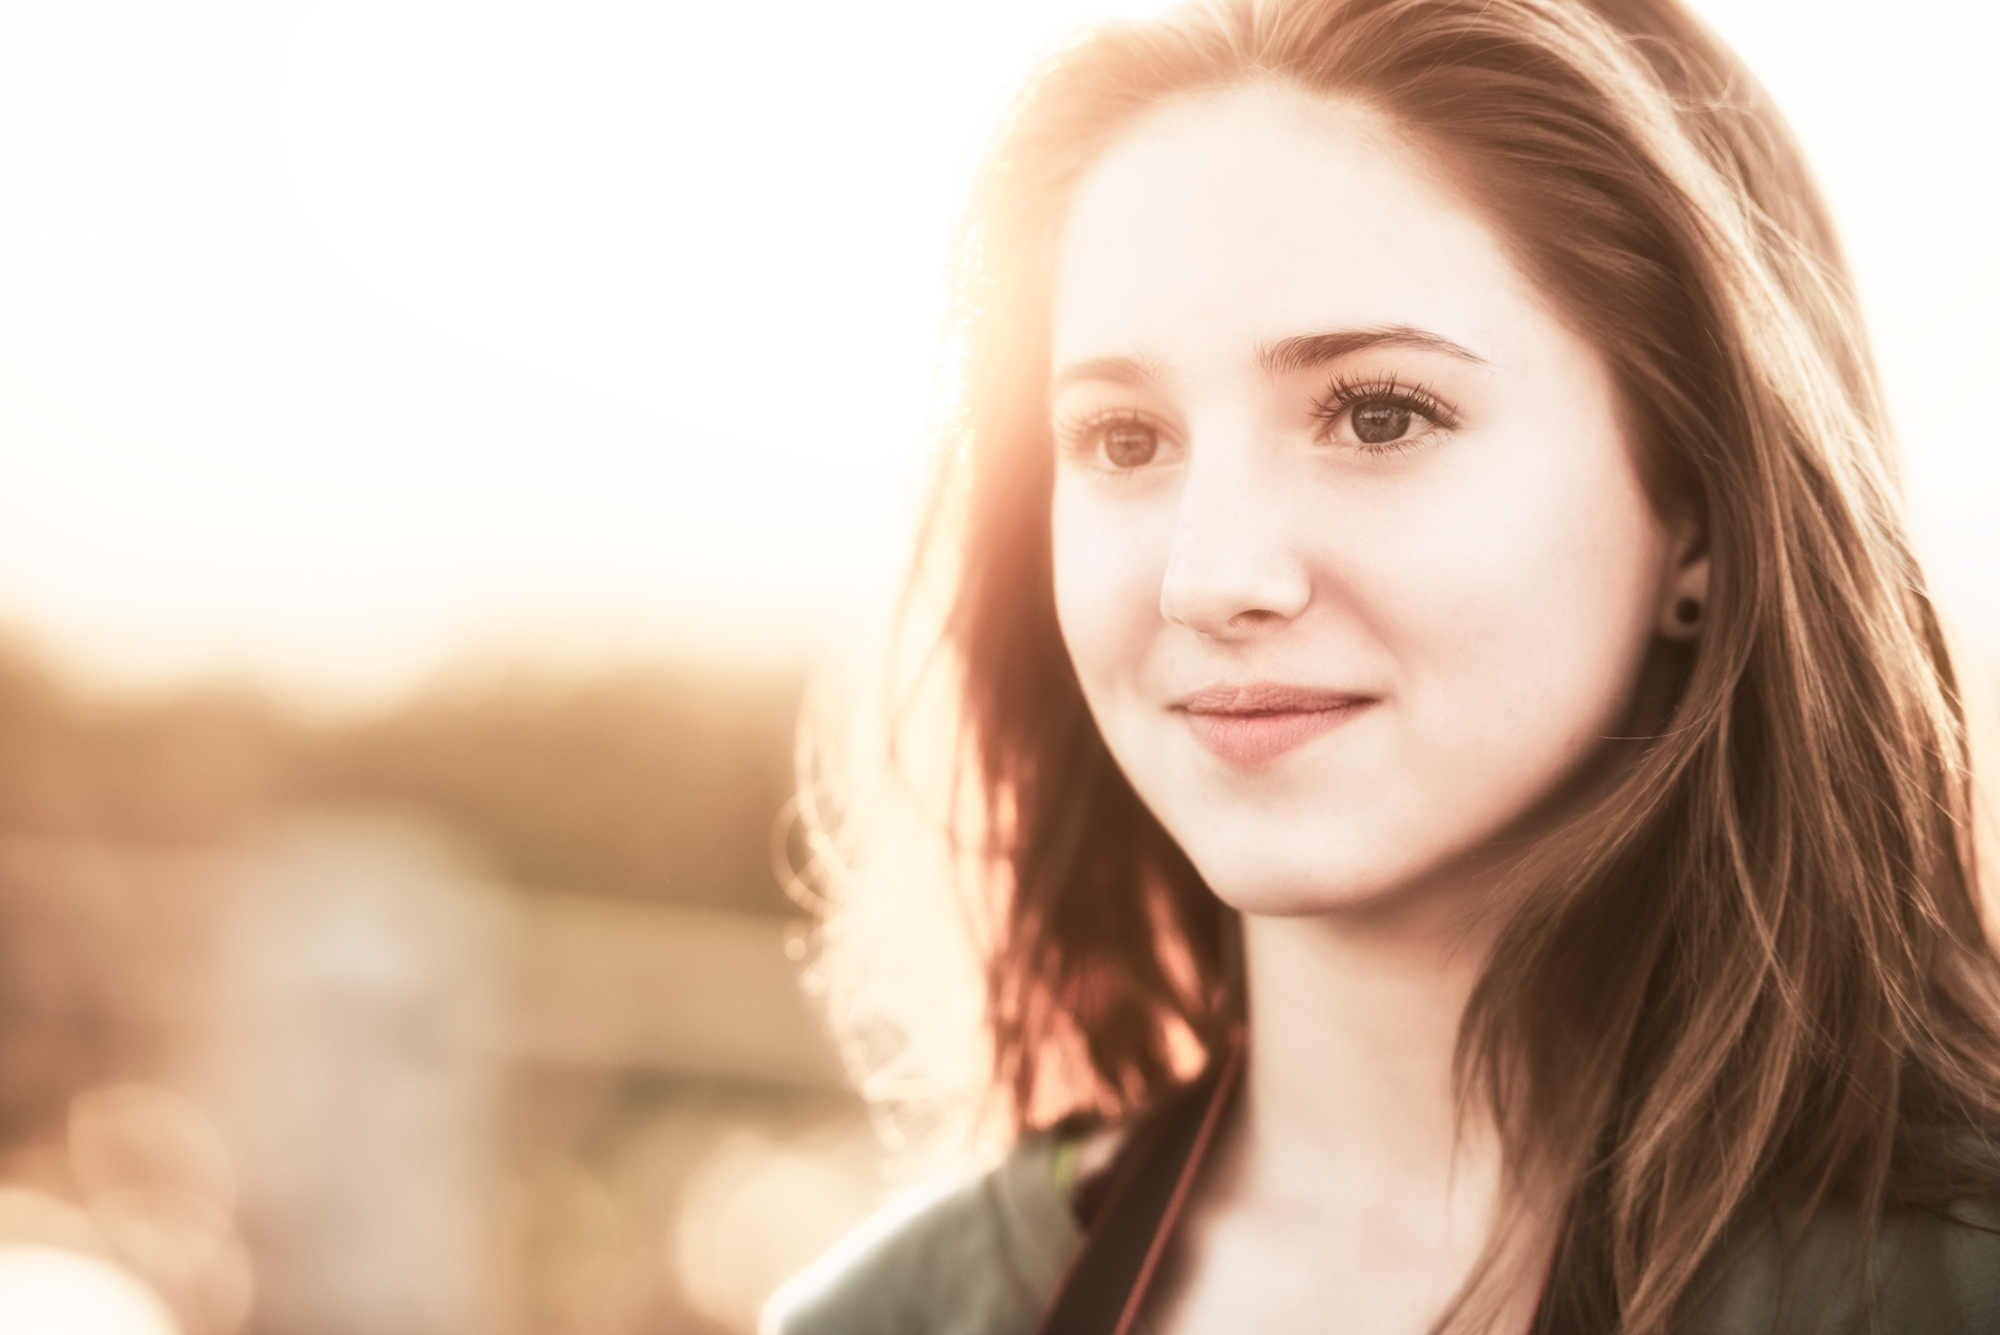
3. Taken just a few seconds later with the same lens and in exactly the same spot — but with a very different result. This time, I exposed for her face plus one-half stop and fine-tuned camera position to allow enough sun to flare around her head and into the lens. It’s worth taking several shots and moving slightly each time — the sheets of light that flood the lens can be different each time and create a different look. In post production, I duplicated the image, converted to black and white and then used a layer blending mode to merge it over the original. This further blooms the highlights — removing detail from the skin but adds some texture back to the darker areas and detail back to the hair. Just a few seconds work creates a high-key and flattering result with muted colors.
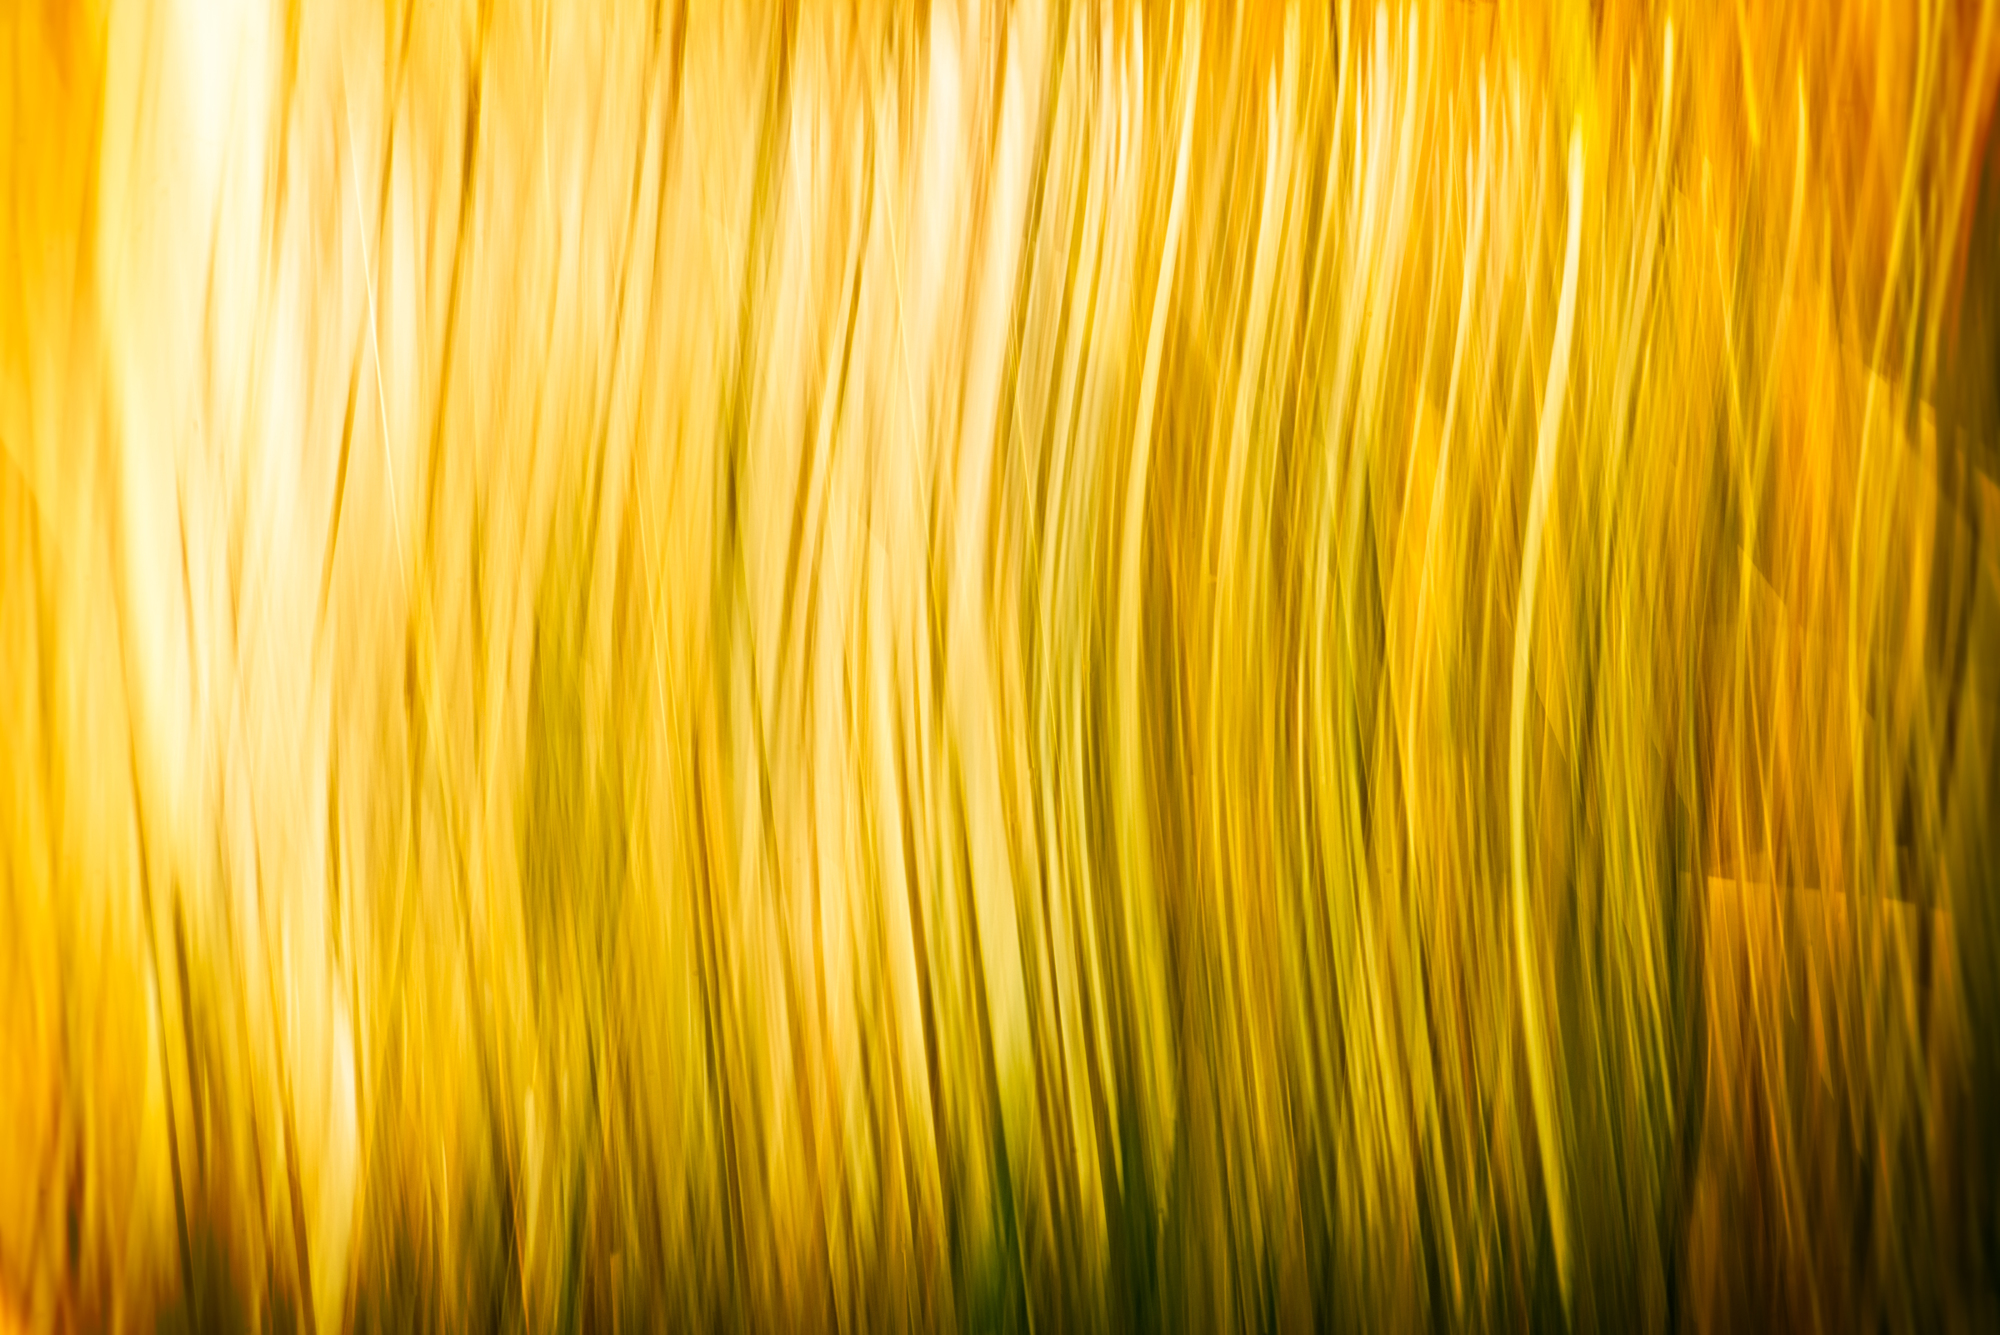
4. This grassy patch at the water’s edge makes a great abstract with intentional camera movement. Using a long lens stopped down to f22, the resulting shutter speed fell to 1/5sec. The camera is moved during the shot — along the length of the grass. For best results, have the camera in motion before pressing the shutter and take many shots using slight variation in the motion. Then just choose your favorite.
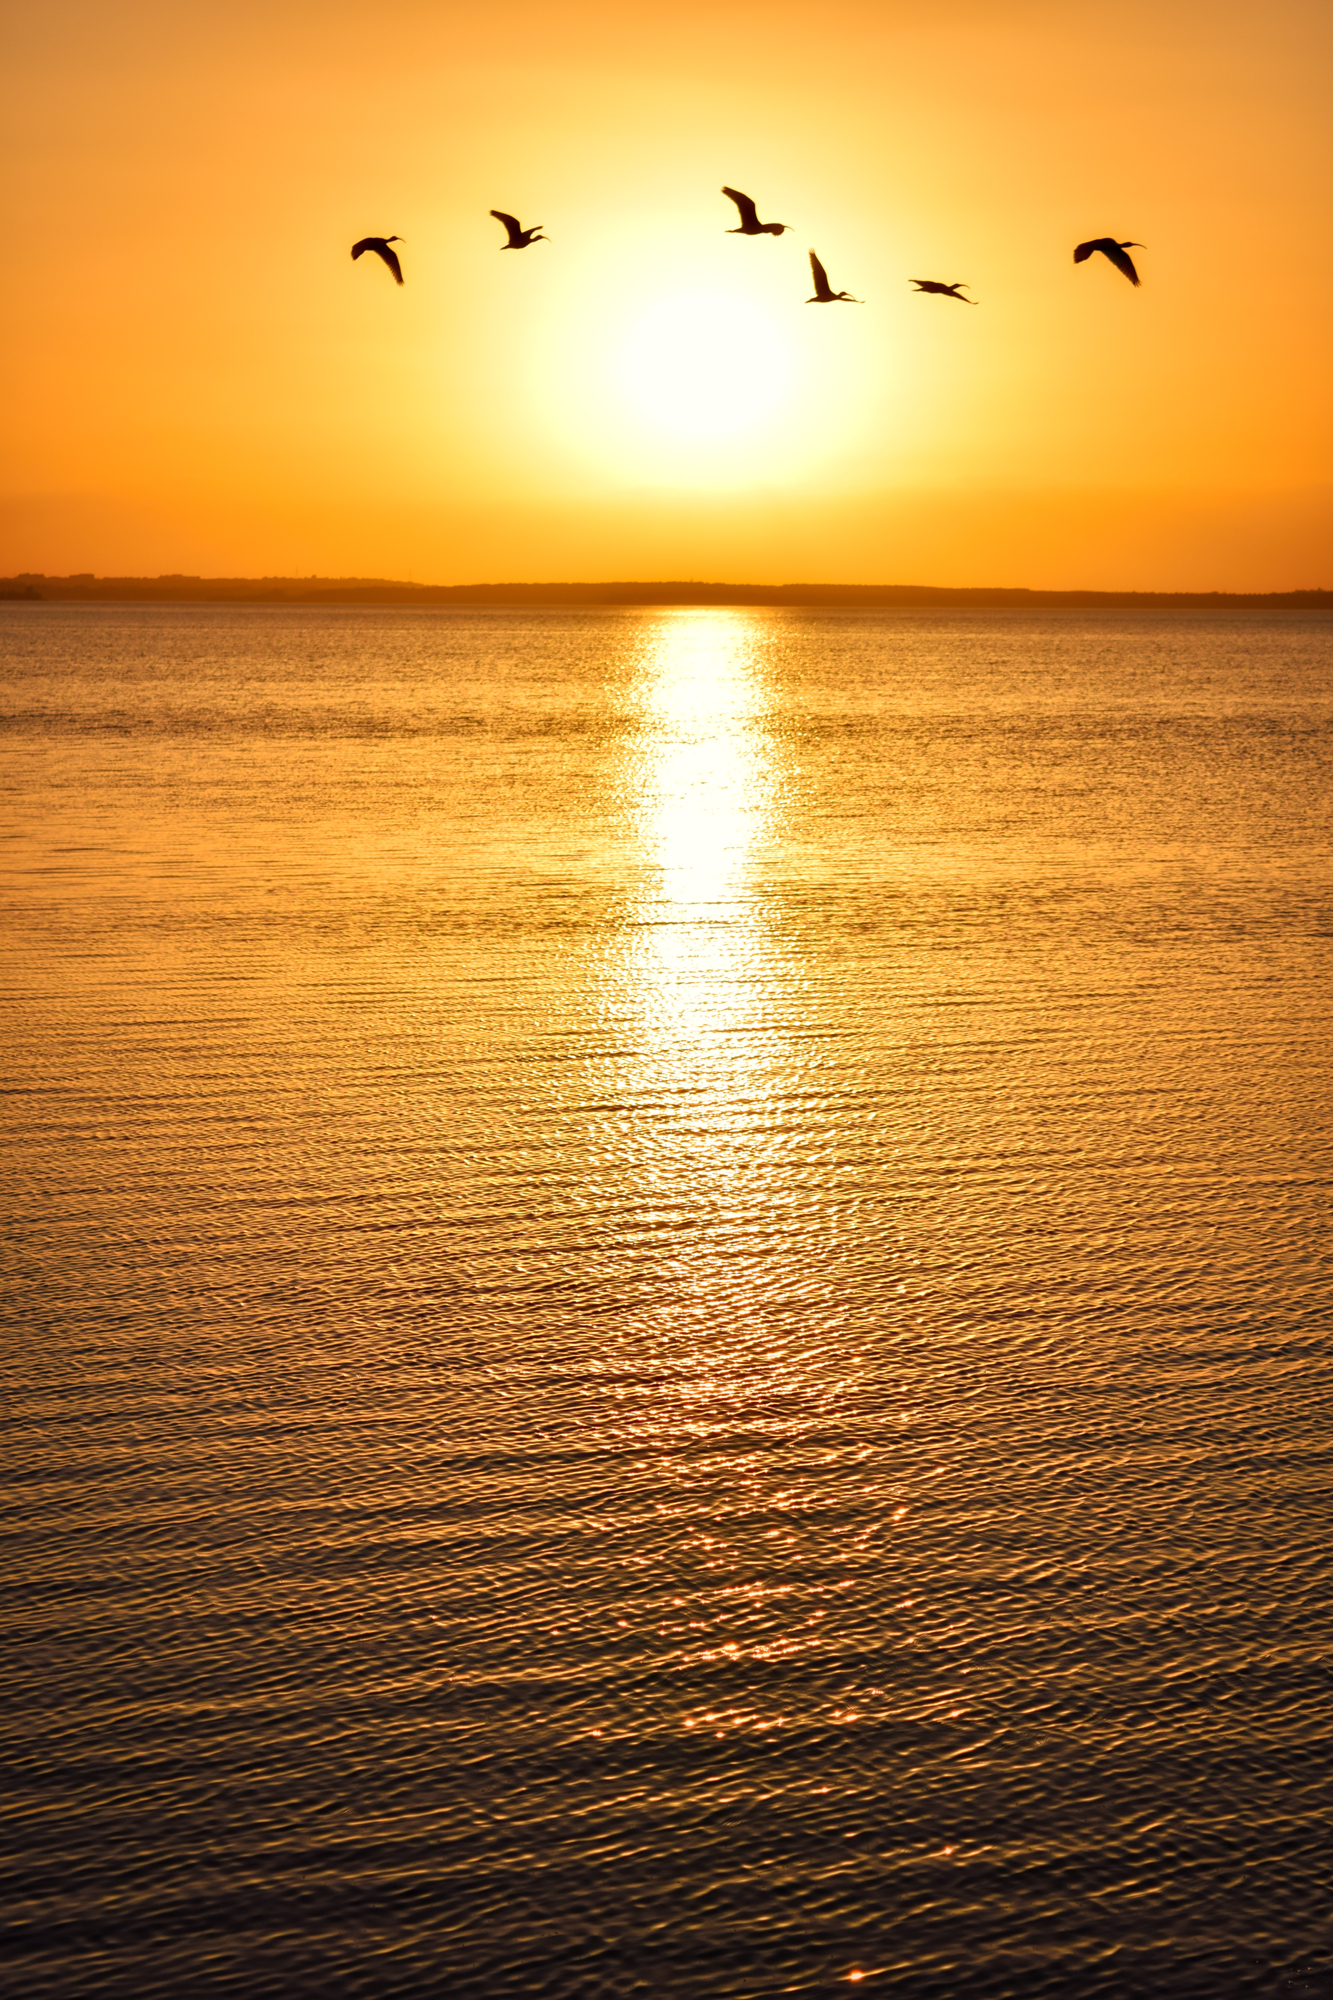
5. One final tip: Keep your camera ready and wait for the action to come to you. Just before dark, it’s shift change in the wildlife world — be ready to catch the local commute.
David Haynes is a photographer and cinematographer who has traveled the world capturing iconic images for organizations such as National Geographic and the BBC. His work can be seen in magazines, newspapers and book covers.